使用单文件组件(SFC)进行开发(前置知识篇)
SFC是如何实现的?
从这里开始,我们将着手实现SFC(Single File Component,单文件组件)。
那么,我们应该如何实现呢?
SFC和模板一样,是在开发时使用的,在运行时并不存在。
对于已经完成模板开发的各位来说,理解需要编译什么以及如何编译应该是很简单的。
像下面这样的SFC:
<script>
export default {
  setup() {
    const state = reactive({ message: 'Hello, chibivue!' })
    const changeMessage = () => {
      state.message += '!'
    }

    return { state, changeMessage }
  },
}
</script>

<template>
  <div class="container" style="text-align: center">
    <h2>message: {{ state.message }}</h2>
    <img
      width="150px"
      src="https://upload.wikimedia.org/wikipedia/commons/thumb/9/95/Vue.js_Logo_2.svg/1200px-Vue.js_Logo_2.svg.png"
      alt="Vue.js Logo"
    />
    <p><b>chibivue</b> is the minimal Vue.js</p>

    <button @click="changeMessage">click me!</button>
  </div>
</template>

<style>
.container {
  height: 100vh;
  padding: 16px;
  background-color: #becdbe;
  color: #2c3e50;
}
</style>
需要转换成以下这样的JS代码:
export default {
  setup() {
    const state = reactive({ message: 'Hello, chibivue!' })
    const changeMessage = () => {
      state.message += '!'
    }

    return { state, changeMessage }
  },

  render(_ctx) {
    return h('div', { class: 'container', style: 'text-align: center' }, [
      h('h2', `message: ${_ctx.state.message}`),
      h('img', {
        width: '150px',
        src: 'https://upload.wikimedia.org/wikipedia/commons/thumb/9/95/Vue.js_Logo_2.svg/1200px-Vue.js_Logo_2.svg.png',
      }),
      h('p', [h('b', 'chibivue'), ' is the minimal Vue.js']),
      h('button', { onClick: _ctx.changeMessage }, 'click me!'),
    ])
  },
}
你可能会想"咦,样式呢?",但现在我们先不考虑这个问题,让我们先思考模板和脚本部分。
我们在这个最小示例中也不会涉及script setup。
在什么时机以及如何进行编译?
结论是:"在构建工具解析依赖关系时插入编译器"。 通常情况下,SFC是通过从其他文件import来使用的。 在这种情况下,我们需要编写一个插件,在解析.vue文件时进行编译,并将结果绑定到App上。
import App from './App.vue' // 在读取App.vue时进行编译

const app = createApp(App)
app.mount('#app')
虽然有各种各样的构建工具,但在本例中,我们将编写一个Vite插件。
对于那些从未编写过Vite插件的人来说,让我们先通过一个简单的示例代码来熟悉插件的实现。
首先创建一个简单的Vue项目。
pwd # ~
nlx create-vite
## ✔ Project name: … plugin-sample
## ✔ Select a framework: › Vue
## ✔ Select a variant: › TypeScript

cd plugin-sample
ni
让我们看看创建的项目中的vite.config.ts。
import { defineConfig } from 'vite'
import vue from '@vitejs/plugin-vue'

// https://vitejs.dev/config/
export default defineConfig({
  plugins: [vue()],
})
我们可以看到它添加了@vitejs/plugin-vue作为插件。
实际上,在使用Vite创建Vue项目时,能够使用SFC就是靠它。
这个插件包含了一个按照Vite插件API实现的SFC编译器,它将Vue文件编译成JS文件。
让我们在这个项目中创建一个简单的插件。
import { defineConfig, Plugin } from 'vite'
import vue from '@vitejs/plugin-vue'

// https://vitejs.dev/config/
export default defineConfig({
  plugins: [vue(), myPlugin()],
})

function myPlugin(): Plugin {
  return {
    name: 'vite:my-plugin',

    transform(code, id) {
      if (id.endsWith('.sample.js')) {
        let result = ''

        for (let i = 0; i < 100; i++) {
          result += `console.log("HelloWorld from plugin! (${i})");\n`
        }

        result += code

        return { code: result }
      }
    },
  }
}
我们创建了一个名为myPlugin的插件。
虽然这很简单,即使不解释也能理解,但我还是稍微解释一下。
插件需要符合Vite要求的格式。虽然有很多选项,但在这个简单的示例中,我们只使用了transform选项。
关于其他选项,建议查看官方文档:https://vitejs.dev/guide/api-plugin.html
在transform中,我们可以接收code和id。code是文件内容,id基本上是文件名。
返回值中,我们将处理结果放入code属性中。
然后,我们可以根据id处理不同类型的文件,修改code来重写文件内容。
在本例中,我们对所有*.sample.js文件进行修改,在文件内容的开头添加100个console语句。
现在,让我们实现一个简单的plugin.sample.js并进行验证。
pwd # ~/plugin-sample
touch src/plugin.sample.js
~/plugin-sample/src/plugin.sample.js
function fizzbuzz(n) {
  for (let i = 1; i <= n; i++) {
    i % 3 === 0 && i % 5 === 0
      ? console.log('fizzbuzz')
      : i % 3 === 0
        ? console.log('fizz')
        : i % 5 === 0
          ? console.log('buzz')
          : console.log(i)
  }
}

fizzbuzz(Math.floor(Math.random() * 100) + 1)
~/plugin-sample/src/main.ts
import { createApp } from 'vue'
import './style.css'
import App from './App.vue'
import './plugin.sample.js' // 添加

createApp(App).mount('#app')
在浏览器中检查一下。
pwd # ~/plugin-sample
nr dev
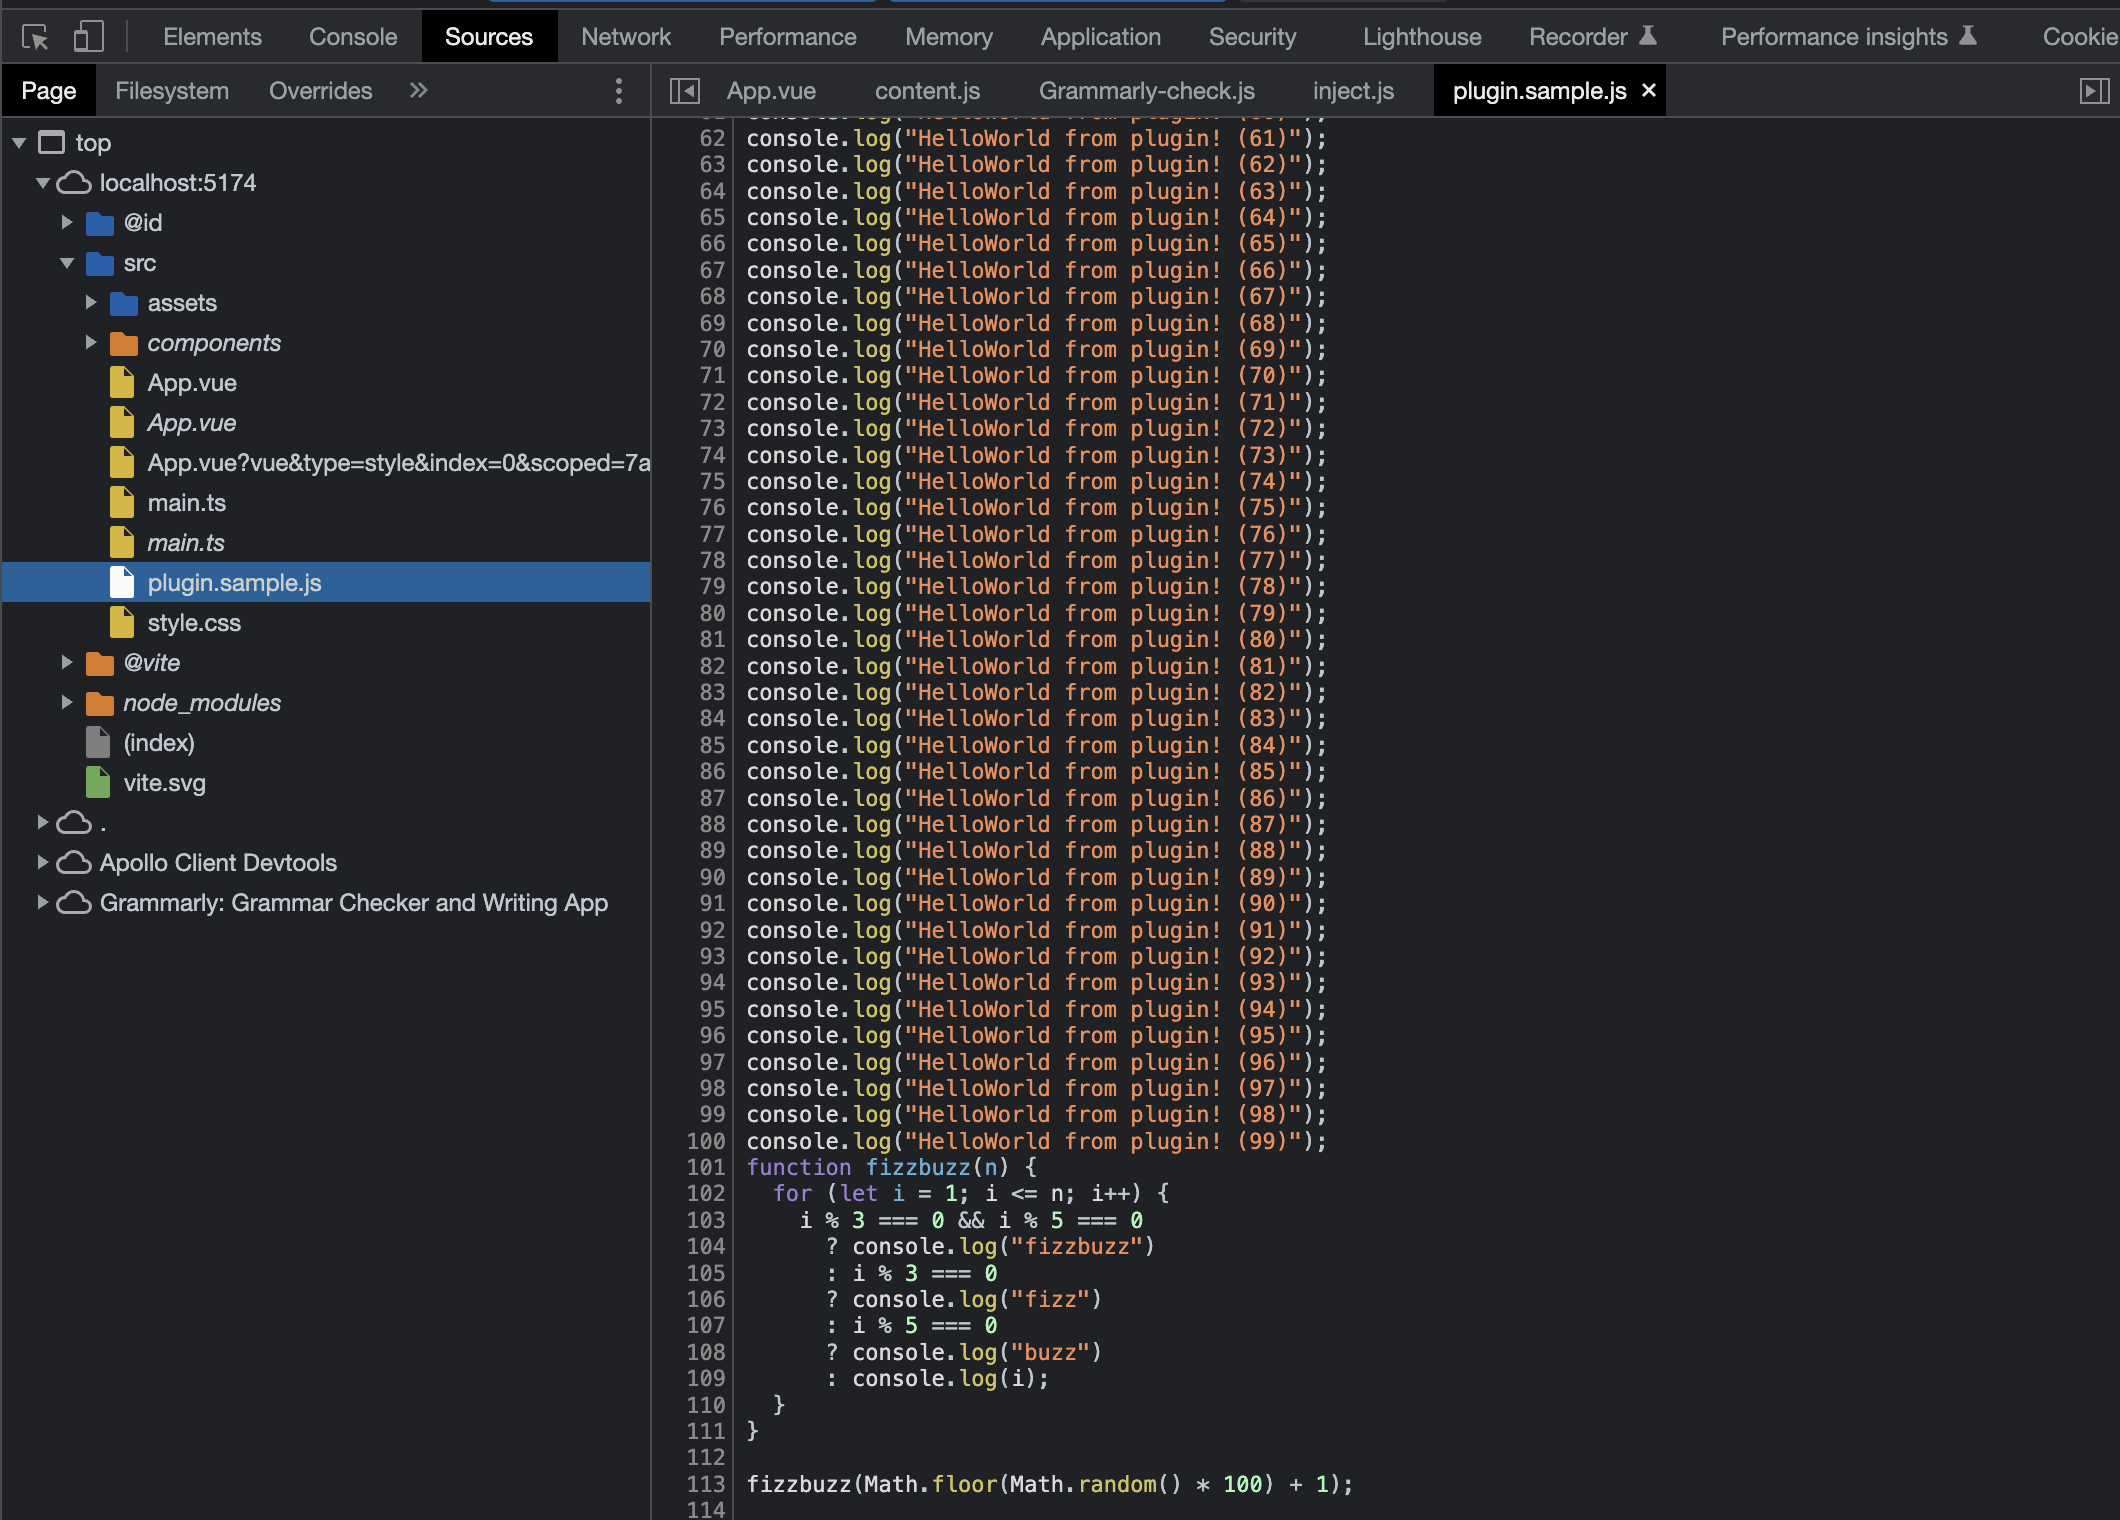
我们可以看到源代码确实被修改了。
到目前为止的源代码:
chibivue (GitHub)